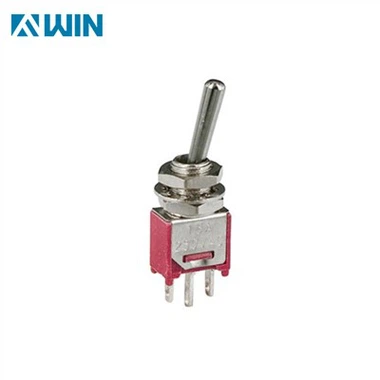
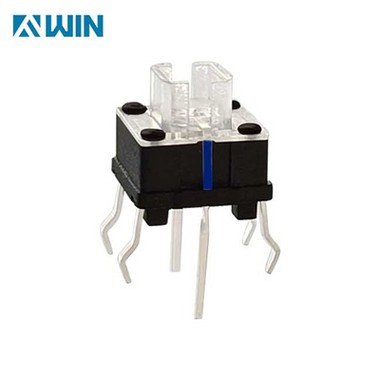
How To Install The Micro Switch?
Jun 29, 2024
Installing a micro switch involves several straightforward steps to ensure proper functionality and integration into your equipment or system. Here's a general guide on how to install a micro switch effectively:
Tools and Materials Needed:
Micro switch
Screwdriver (typically Phillips or flathead, depending on the switch)
Wire strippers and electrical connectors (if necessary)
Multimeter (for testing, if required)
Mounting hardware (screws, bolts, nuts)
Installation Steps:
Choose the Mounting Location: Determine the optimal location to mount the micro switch based on its intended function and the mechanical setup of your equipment. Ensure that the actuator of the micro switch aligns correctly with the moving part or object it needs to detect or control.
Prepare the Mounting Surface: Clean the mounting surface to ensure a secure attachment for the micro switch. Remove any debris or obstacles that could interfere with the installation.
Mounting the Micro Switch:
Positioning: Place the micro switch in the chosen location, aligning it with the actuator mechanism. Ensure that the actuator is correctly oriented to make contact with the moving part or object.
Secure Attachment: Use the provided mounting holes on the micro switch to attach it securely to the mounting surface. Use appropriate screws, bolts, or nuts to fasten the switch tightly. Avoid over-tightening to prevent damage to the switch housing.
Electrical Connections:
Wire Preparation: If the micro switch requires electrical connections, prepare the wires by stripping a small section of insulation from each wire end.
Terminal Connections: Identify the terminals on the micro switch for electrical connection. Typically, micro switches have labeled terminals for common (COM), normally open (NO), and normally closed (NC) connections. Connect the wires accordingly:
Common (COM): Connect to the power supply or common ground, depending on the circuit configuration.
Normally Open (NO): Connect to the load (device) that will be activated when the switch is actuated.
Normally Closed (NC): Optionally connect to provide an alternate circuit configuration based on the switch's state.
Secure Connections: Use electrical connectors such as terminals, crimp connectors, or soldering (if applicable) to secure the wires to the micro switch terminals. Ensure connections are tight and insulated to prevent short circuits or loose connections.
Testing and Adjustment:
Functional Test: Once installed and wired, perform a functional test to ensure the micro switch operates correctly. Activate the switch manually or through the equipment's normal operation and verify proper switching action.
Adjustment: If necessary, adjust the position of the micro switch or the actuator mechanism to ensure reliable operation and accurate sensing or control.
Final Checks: After installation and testing, inspect the installation for any loose connections, misalignment, or other issues that could affect the switch's performance. Make any necessary adjustments or corrections to ensure optimal functionality.
By following these steps, you can install a micro switch effectively, ensuring reliable operation and integration into your equipment or system. Proper installation is crucial to maximizing the performance and longevity of the micro switch in its intended appli