Mounting Styles for Metal Button Switches
Aug 08, 2025
Metal button switches, like metal push button switches, those shiny illuminated metal push buttons, and your regular standard metal switches, come in all sorts of ways to be installed. Whether you're working on a big industrial control panel or a tiny electronic gadget, there's a mounting style for you. These designs are all about making sure the switch stays put, works well, and fits with whatever surface you're attaching it to.
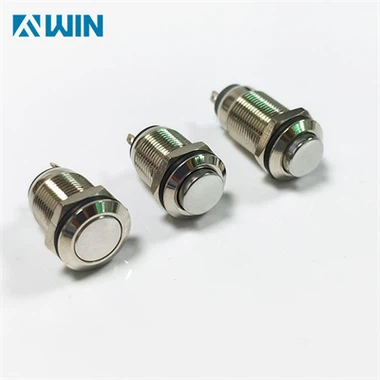
Panel mount is the go-to option for most people. It's made for putting switches into flat surfaces, like control panels, dashboards, or those outer boxes of electronics. How does it work? Well, the switch has this threaded metal part that sticks out from its body. First, you drill a hole in the panel that's the exact size of the switch-usually 12mm, 16mm, or 19mm. Then you pop the switch in from the front side. After that, you tighten a nut onto that threaded part from the back of the panel. This way, the switch sits flat or just a bit above the surface. Panel-mount metal push button switches are perfect when you need easy access and want the switch to be visible, like on industrial machines or emergency stop buttons. Illuminated metal push buttons often use this style too, since the panel gives a sturdy base to protect the little LED lights and all the wires inside from getting damaged.
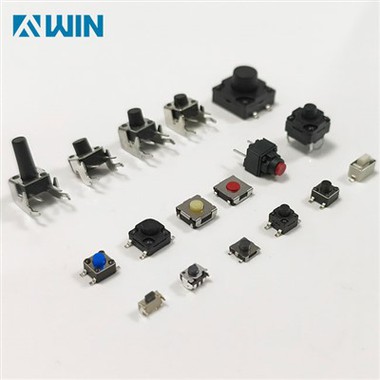
PCB mount (that's Printed Circuit Board mount) is great for when you want to attach the switch right onto a circuit board. You'll see this a lot in small electronics, consumer gadgets, and automated systems. These switches have pins or little solder tabs. You just stick them through holes on the PCB and then solder them in place. PCB-mount metal switches are light and don't take up much space, so you don't need extra stuff like nuts or brackets. They're a top pick for designs where you're short on space, like in gaming controllers or medical devices. For the illuminated ones, mounting on a PCB means they get a solid power connection, so the LED lights stay bright and consistent. But here's the catch: they're not the best choice for really tough jobs. If the switch gets pushed a ton, those soldered connections might start to come loose.
Threaded mount with a flange is kind of like panel mounting, but with an extra feature. It has this flanged collar that sits against the front of the panel. This flange helps keep the switch from spinning around when you use it, which is really handy in places that vibrate a lot, like in cars or airplanes. Sometimes, the flange even has gaskets to keep water out, so it's a great option for waterproof metal push button switches that you'd use outside or in wet conditions.
Some metal switches give you the best of both worlds with hybrid mounting. They combine features of panel and PCB mount. For instance, a switch might have that threaded part for installing in a panel, but also include PCB-mount pins so you can connect it directly to the circuits inside. It's like having the convenience of easy access and the benefits of a direct electrical connection all in one.
To sum it up, when you're choosing how to mount a metal button switch, you've got to think about how much space you have, where it's going to be used, and how it needs to be put together. Panel mount is awesome for rough, visible setups. PCB and surface mount are perfect for small electronics.